Manage employee time off with ease using eHubt’s Leave Management system. This guide explains how to request, approve, and track staff leave — helping you maintain smooth operations and fair staff coverage.
👉 Watch the full tutorial here:[leave management]
This video will walk you through the full process visually.
Navigate to the iRota module from the dashboard.
Click on the Leave Requests tab.
Select Add Leave.
Fill in the required details:
Employee Name
Leave Type (e.g., Annual, Sick)
Start & End Dates
Reason/Notes (optional)
Click Submit.
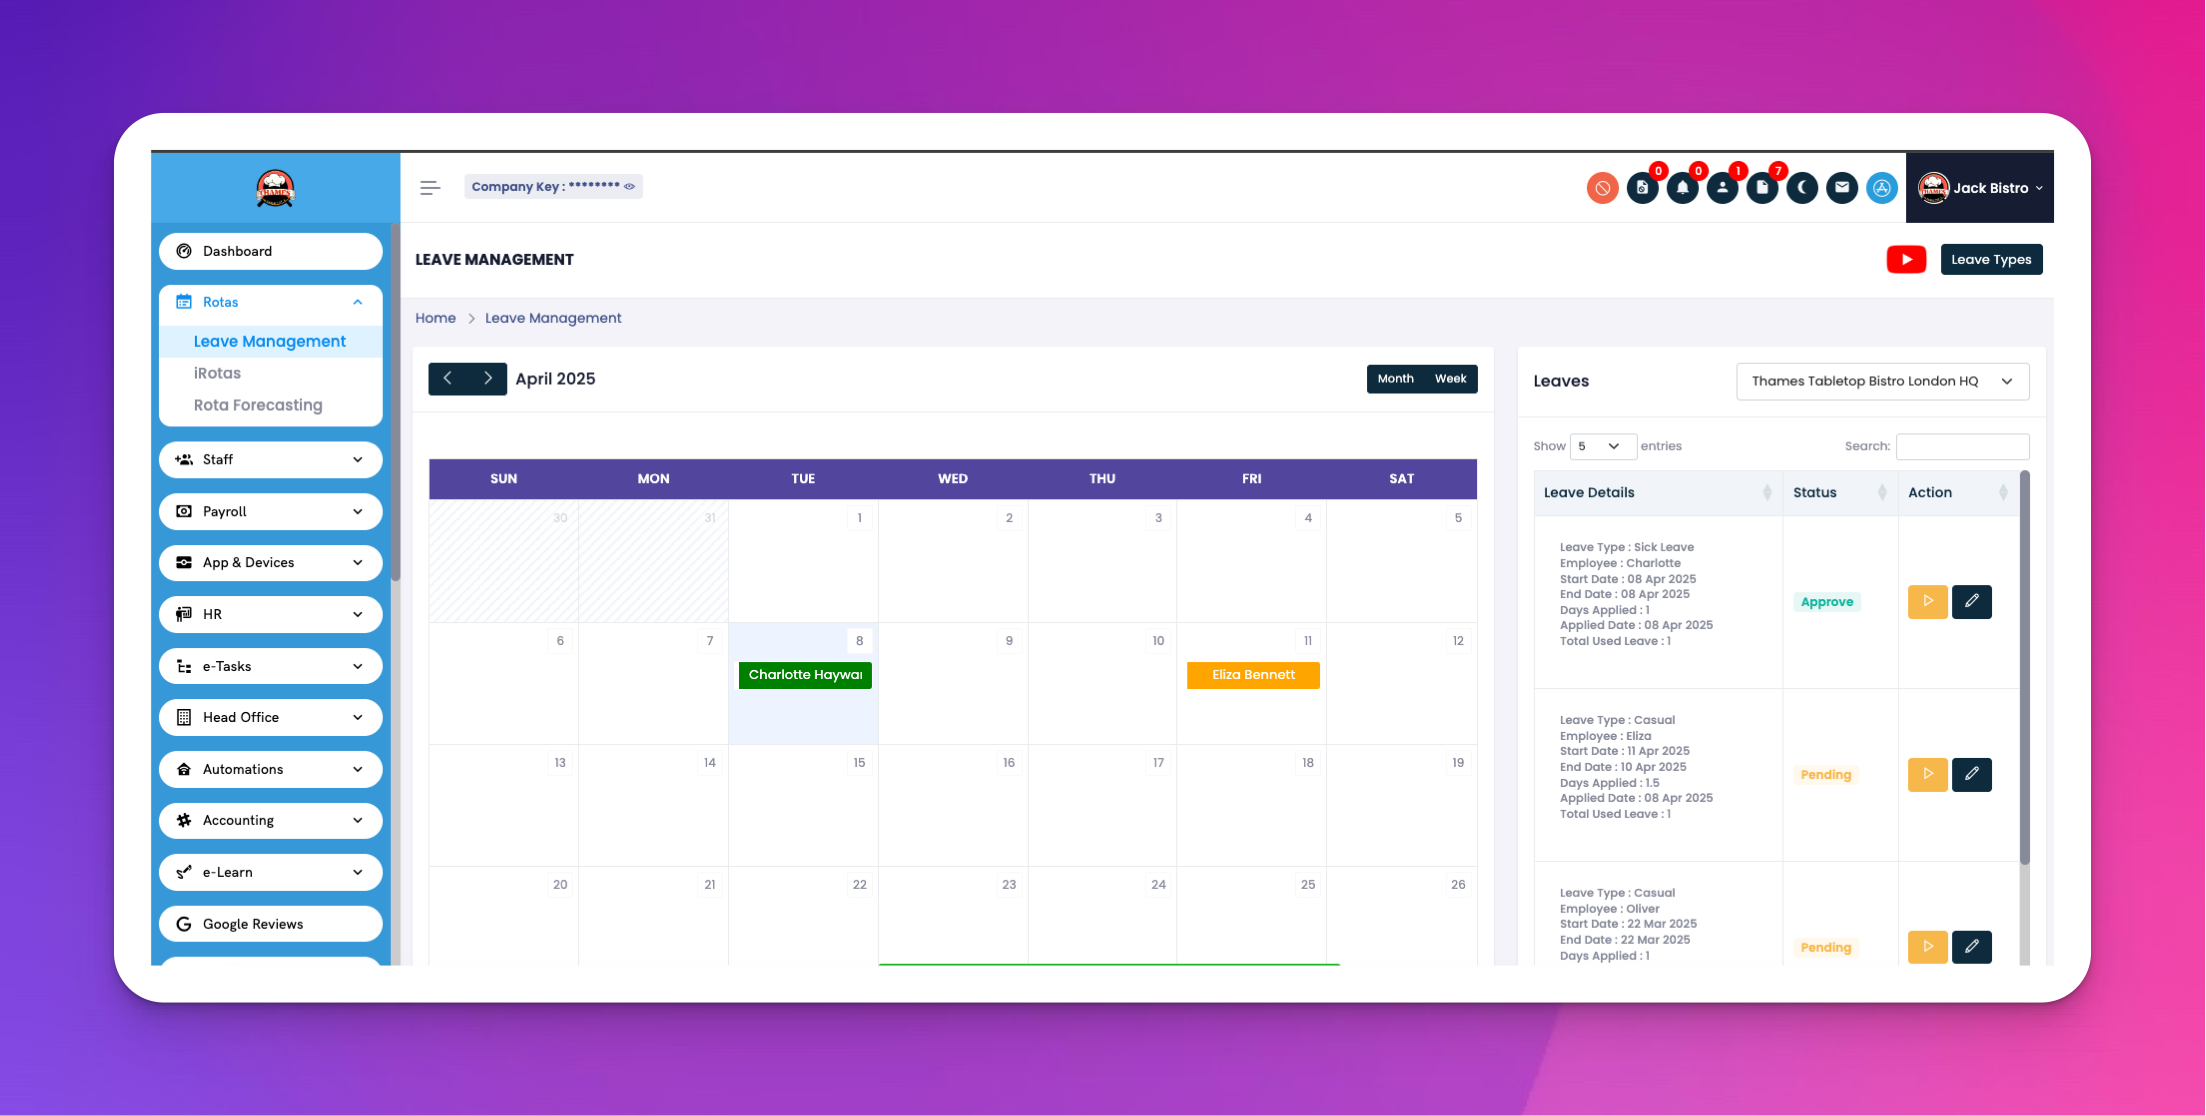
Go to the Leave Management section inside iRota.
Click on the Pending Requests tab.
Review the leave request details.
Choose to Approve or Reject.
Add optional feedback for the employee if needed.
Approved leave is automatically shown in the staff rota.
Annual Leave
Sick Leave
Emergency Leave
Maternity/Paternity
Custom Leave Types (as defined by your admin)
Q: Can an employee cancel a submitted leave request?
A: Yes, if the request hasn’t been approved yet.
Q: How do I limit the number of staff off at the same time?
A: Go to Settings → Leave Rules → Set max allowed per department or role.
Q: Does leave automatically affect rota scheduling?
A: Yes, once approved, leave is blocked out in the rota to avoid shift conflicts.
Encourage staff to submit leave early to avoid scheduling gaps.
Use leave reports to monitor trends and improve planning.