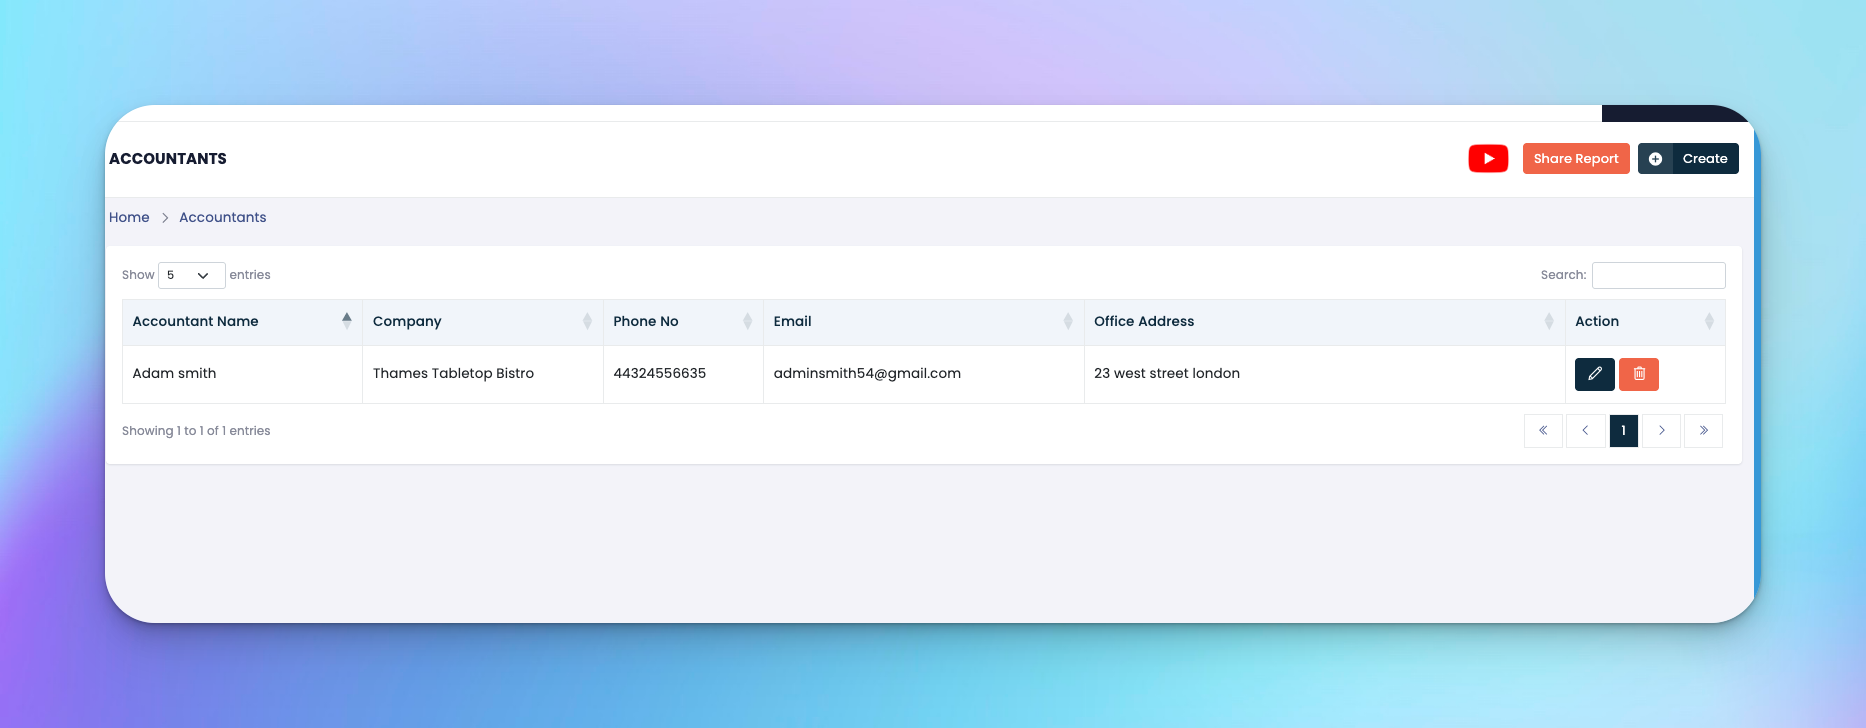
The Accountants section allows you to assign dedicated accounting personnel to specific branches, helping you streamline financial responsibilities and communication. This ensures that only designated individuals have access to sensitive financial areas.
Go to: Accounting → Accountants
Click the Create or Add Accountant button (depending on your view)
Fill in the following fields:
Name – Full name of the accountant (e.g., Adam Smith)
Phone No – Contact number
Email – Work email address
Office Address – Physical location or office address
Click Submit to save the accountant’s details.
✅ Tips
Ensure contact details are accurate for smooth communication
Use the ✏️ icon to update information anytime
Assigning an accountant doesn't limit them to one branch unless managed manually
At the top right of the Accountants page, you'll find an orange “Share Report” button.
Clicking this lets you share accountant-related reports directly, making it easier to export or communicate assignments with others.
After adding, the list will appear showing:
Accountant Name
Assigned Company
Contact Info
Office Address
Actions: Edit ✏️ or Delete 🗑️
Q: Can I assign multiple accountants to the same company?
A: Yes, multiple entries can be made under the same company name.
Q: Is there an access restriction per accountant?
A: This depends on the roles configured under your platform's user management settings.
Q: Can I delete an accountant?
A: Yes, but make sure to reassign any financial responsibilities if needed.